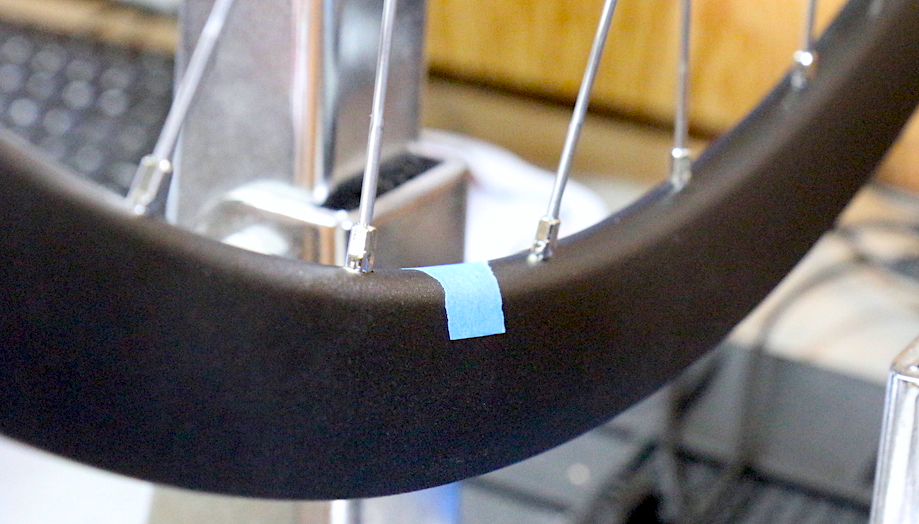
If you true bicycle wheels using indicators, dial or digital, you’ll know the joint area can be problematic on some rims. A little twist or bump can wreak havoc, sending your instrument to the moon if only for a moment. It’s possible to work around this problem.
Normally truing is oriented from the valve hole, starting at the valve hole and continuing around the wheel until returning to the valve hole again. It’s nothing special other than being a signpost to indicate you’ve covered the whole wheel. Instead start at the joint. Begin scanning immediately after the joint and continue around the wheel until returning to the point immediately before the joint. This factors out hyperlocal distortion at the seam. If you need to make the joint more conspicuous, apply a little piece of masking tape to establish your own signpost.
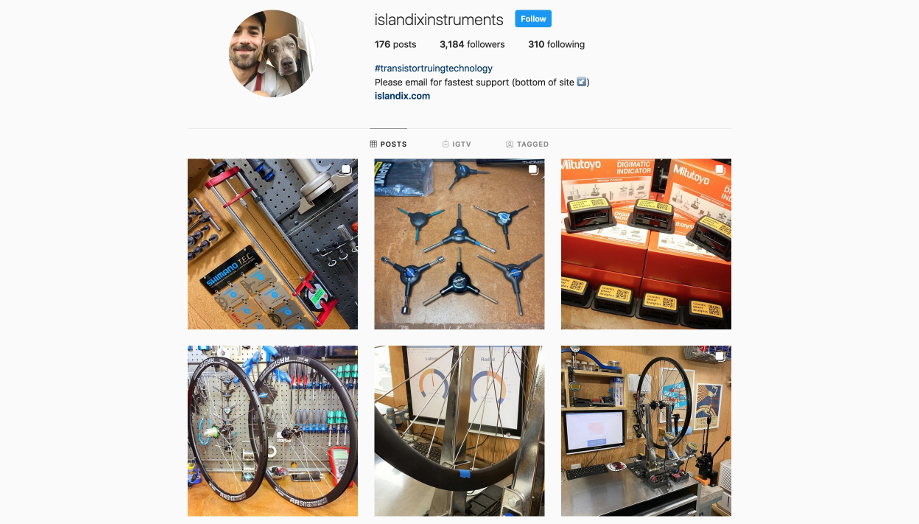
Islandix is low-key on the social media front but check out Instagram . IG gets used for highlights, behind-the-scenes stuff and less serious amusements. As a special request please contact us here for sales and support (we do not use social media every day and some weeks not at all).
Refitting a tensio to work with Wheel Analytics can be pretty easy. In this video we’ll refit a typical tool, this one imported from Asia but similar to tensiometers from a dozen or more manufacturers. This particular tool is well-constructed with a ball bearing pivot. The factory dial indicator is its weakness but we’ll replace it with a digital upgrade.
The indicator is released by loosening a single set screw on the back of the tool. With the indicator removed, the stem is measured. There are two common sizes — 9.5mm (3/8″) and 8mm (5/16″) — and this tool uses the latter. Mitutoyo 543-781B features an 8mm stem so it’s a direct replacement. Insert into the bore and secure with the same screw. Job done.
Wheel Analytics includes three modules for interfacing with bicycle tensiometers. This feature is evolving and will be the subject of a free update available next month.
One frequently asked question concerns tensiometer support. Wheel Analytics works with any tensiometer equipped with a Mitutoyo or compatible digital indicator. Many tensios can be retrofitted with such an indicator, allowing you to continue using the tool you already own and enjoy. Islandix supplies indicators for this purpose with no extra shipping cost. Please inquire for specific advice or to order indicators.
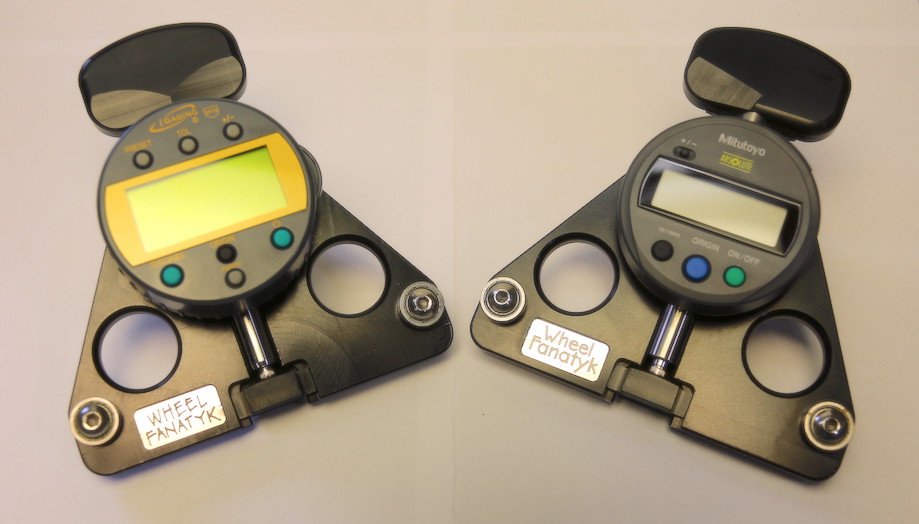
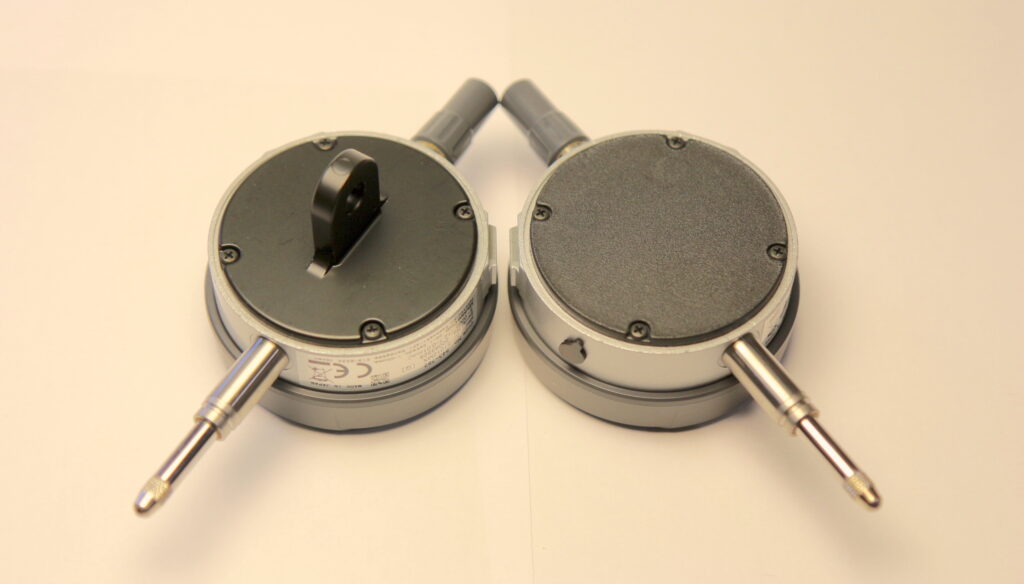
A related question concerns available tensiometers that are compatible out of the box. There are a few on the market. The Wheel Fanatyk tools pictured above are an Islandix favorite. Choose the Digimatic version for compatibility. Wheel Fanatyk tensios are calibrated to a universal standard and this information is preloaded into Wheel Analytics as a default setting. On the other hand if you prefer a more traditional tool, IceToolz makes one featuring a Mitutoyo indicator.
Wheel Analytics uses a web browser interface. This post explains how we got here, what it means and what it doesn’t.
Fundamental to visualization is a way to display graphics. This could be accomplished by selling a screen, which comes with a cost and bakes in certain limitations. If you prefer a larger display or prefer the display you already own, an included screen does you no favors.
If the end user supplies the display platform, how are visualizations rendered? Providing apps is one option but it’s expensive to support every operating system so we’d have to pick and choose. And apps require ongoing maintenance, for example when platforms update. By using a browser as the rendering engine mechanics can (i) work from any device, (ii) upgrade them at will and (iii) switch anytime. With Wheel Analytics there are no apps to install because every platform has a browser already.
The browser connects directly to the WA-1 controller, either over Wifi or USB. Everything happens within your workshop — in no case does the browser connect to any off-site service. This is deliberate and has important implications. There are no cloud components that can fail or be withdrawn. If your internet goes down, Wheel Analytics is unaffected.
Wheel Analytics is now in stock. Tools are available for use with your own indicators or can be bundled with an optional kit, currently featuring made-in-Japan Mitutoyo indicators (model 543-782). Mitutoyo are highly refined, long-lasting instruments that offer exceptional battery life.
Efforts will be made to keep Wheel Analytics in stock but the optional indicators are liable to vary depending on availability, price and customer preference. Your thoughts on the subject are solicited.
Indicators are sold with lug backs, flat backs or both. Lug backs are a good way to mount indicators on most truing stands. As an example they make for drop-in replacements on Park Tool TS-2/3/4 truing stands. Flat backs are an alternative if you plan to mount indicators by their stems and want to keep the rear tidy. Magnetic indicator mounts and most tensiometers use a stem clamp design.
iGaging indicators and Terma indicators include both styles so you can switch back and forth. Mitutoyo indicators are sold as one style or the other, however you can purchase extra backs to convert a flat back to a lug back or vice versa. By Mitutoyo part numbering conventions, models numbers ending in the letter ‘B’ ship with flat backs. Model numbers not ending with ‘B’ ship with lug backs.
Thinking about adding digital indicators to your truing stand but not ready to dive into visualization just yet? This post contains pointers to digital indicators you can add to your truing stand so visualization is an option when the time comes.
Islandix Wheel Analytics interfaces with digital indicators that conform to the Mitutoyo Digimatic SPC standard. Data is read using a special uplink cable (available for purchase with Wheel Analytics). You can’t go wrong with Mitutoyo indicators but the market is served by compatible brands too.
The Mitutoyo 543 range is a great choice. 543-5XX and 543-7XX models are my preference. You’ll see lots of options with different feature combinations depending on your preferences and what you have already.
Example
Say you want to replace your Park Tool analog indicators with Mitutoyo 543. Look for a model with #4-48 UNF threads, which lets you re-use the nice #4-48-threaded indicator tips from your Park Tool kit. The Park Tool truing stand attaches indicators using a lug back so pick a Mitutoyo model with this feature (all model numbers except those ending in ‘B’). Compatible indicators for this specification include 543-506, 543-507, 543-783, 543-792, 543-793 and 543-796 among others. All Mitutoyo products are premium quality and the least expensive are perfectly suitable for driving visualizations.
Other brands implement the same standard, which means there are options at difference prices. For example iGaging 35-705-10 has the same data interface. It uses #4-48 UNF threads and features a lug back, which makes it a drop in replacement for Park Tool analog indicators. Finding iGaging indicators below $100 USD is pretty easy, often as low as $70. Try iGagingStore or eBay.
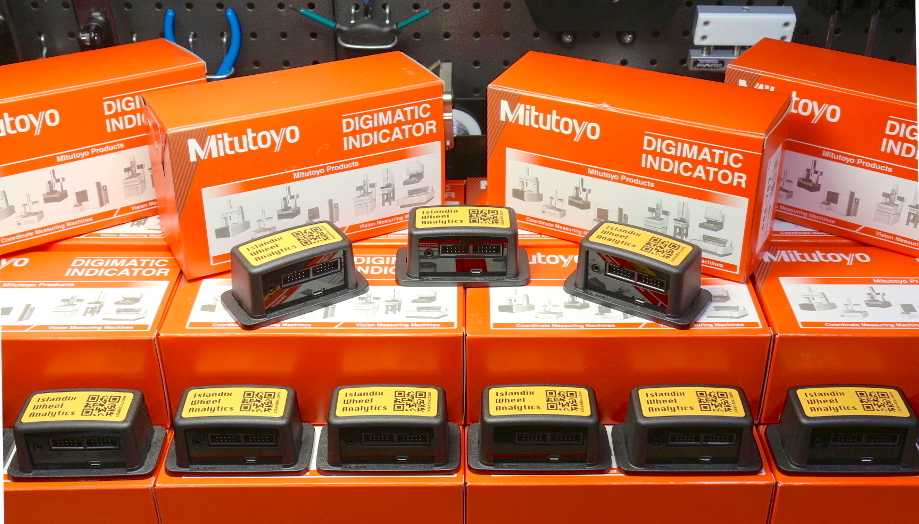
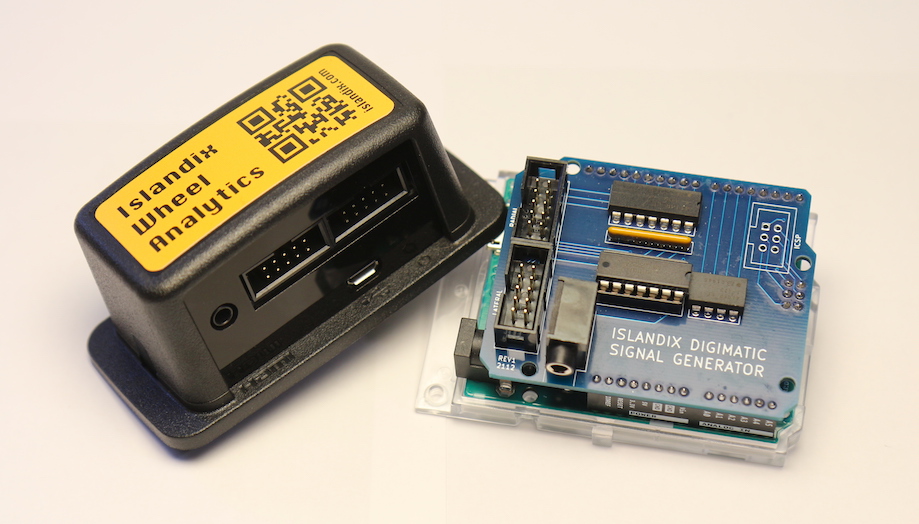
Wheel Analytics WA-1 controllers are checked with in-house testing tools including the one pictured, the Islandix Digimatic Signal Generator. It emulates a pair of Mitutoyo digital indicators, which allows each WA-1 to be tested with an external signal source. The tester generates readings at eight times the peak indicator data rate in order to expose tolerance problems (circuits are more sensitive when run faster). Both ports are bombarded with over a million samples, each decoded, processed and relayed over Wifi and USB simultaneously for a full-coverage test at impossibly high data rates. Software verifies no readings are lost and no transmission delays are experienced.
A big thank you to everyone who pre-ordered Wheel Analytics tools. The next production batch has completely sold out. Parts to manufacture and fulfill these orders are now on hand or underway, which is great since we live in times of challenging supply chains. More Wheel Analytics tools will be available for shipping by April 2021.