MADE it out alive
September 12, 2023
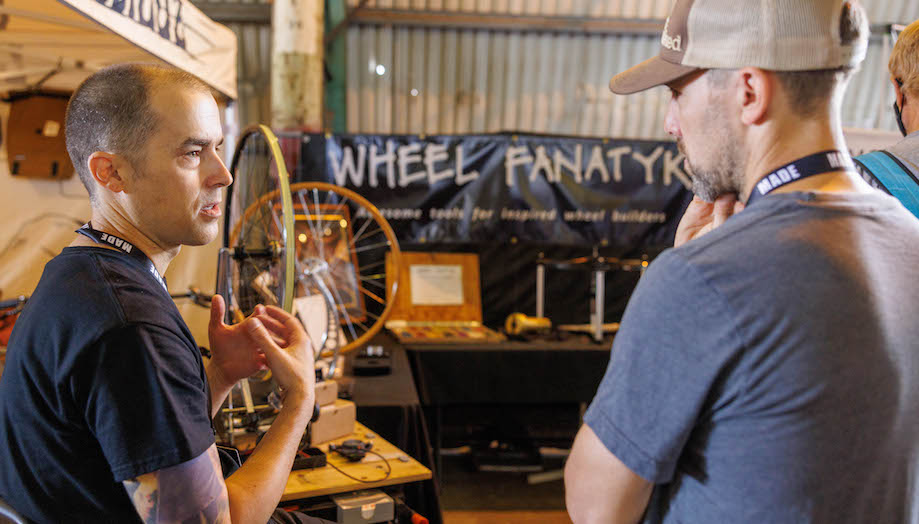
It was energizing to meet so many enthusiastic folks at MADE 2023 — a special thank you to everyone who visited the Islandix booth! A double dose of appreciation to existing Islandix customers who visited (including other show vendors who use Islandix tools internally). And finally thanks to Wheel Fanatyk for sharing a booth filled with essential tools.
Many things were learned from these conversations. Visitors who got the full demo always asked about cost and the most common response was they expected to pay more. We see so many tools with less R&D — yet higher prices than Wheel Analytics — that we feel good about our accessibility. Prices will remain at current levels for the rest of 2023.
Economical indicators
MADE visitors were shown digital sensor options beyond the premium choices in the online shop. We’ve tested dozens in the Islandix lab and settled on two budget recommendations: iGaging 35-705 and Terma IDA910. The key difference between them is the threading for indicator tips. iGaging uses #4-48 threading, which is best if you want to transfer the tips from Park Tool indicators. Terma uses M2.5 threading, which is best if you want to buy tips from Islandix.