ERD seriously

There are two ways ERD goes wrong.

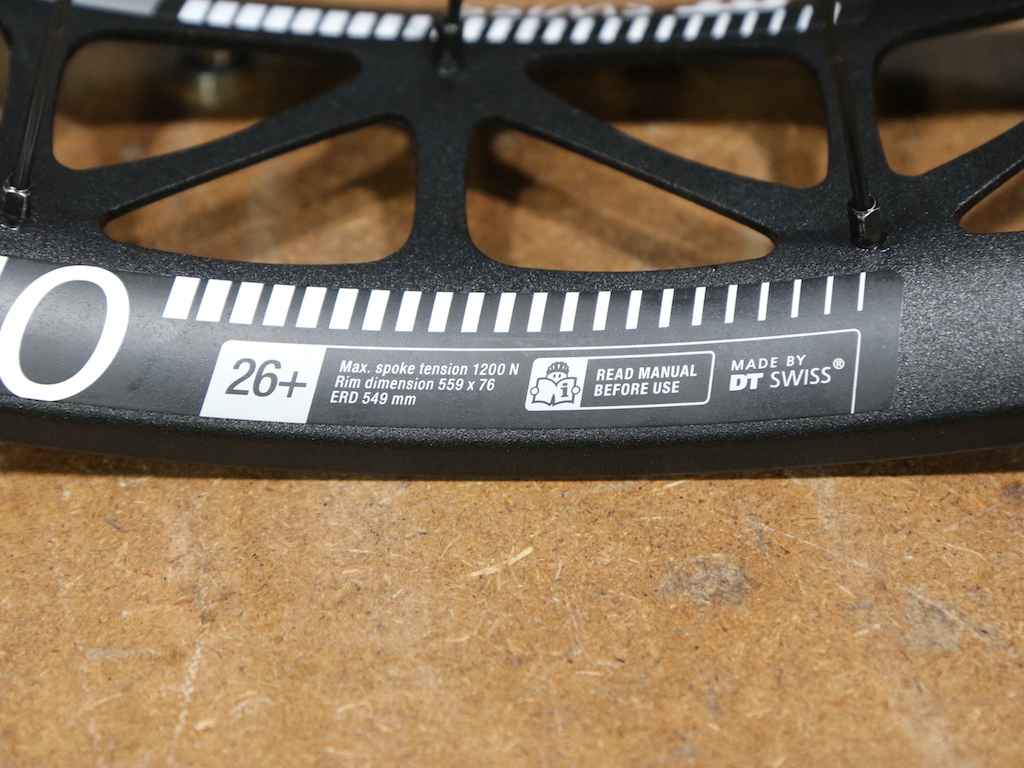
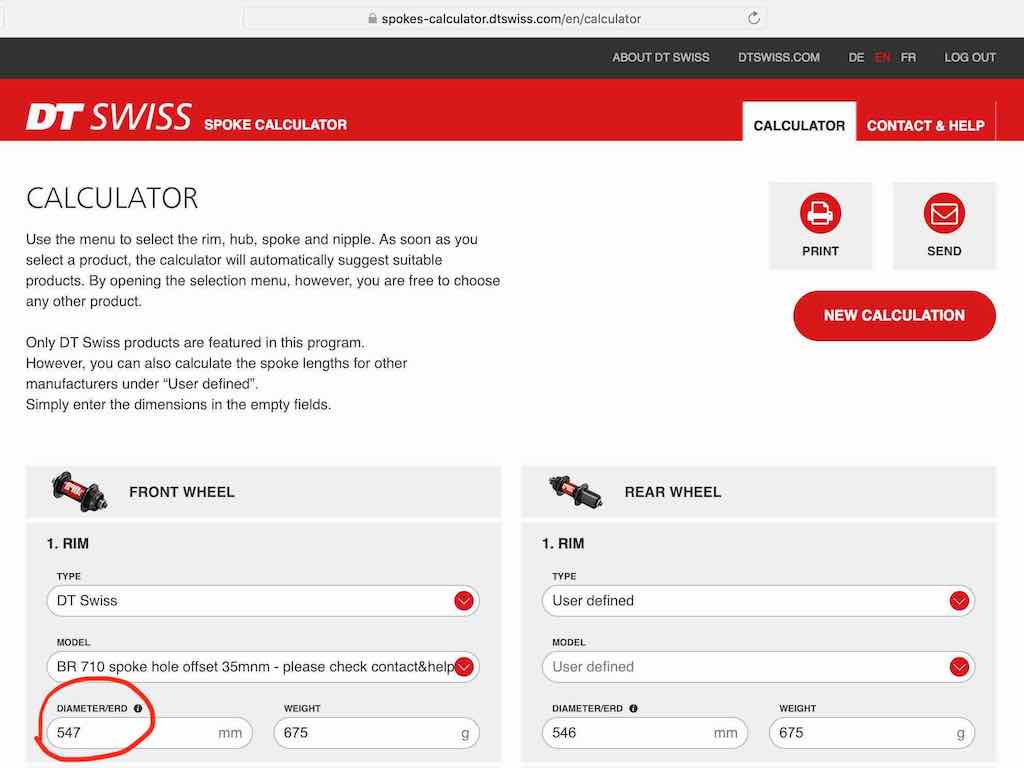
First there are variances in rim manufacturing. Some manufacturers are better than others and to some extent you get what you pay for. But I always measure and frequently find rims out of spec or find differences between pairs of identical rims. If you know what you’re working with, variances are no big deal. If you input correct dimensions, you’ll get correct spoke lengths.

The second issue is differing definitions of ERD. Typical definitions include penetration of the spoke into the nipple head, which is important for maximum strength. But how far the spoke extends beyond the nipple seat (into the rim) is unclear. It depends on nipple geometry and encodes some preference for how much penetration is ideal. In other words ERD is relative to an undisclosed nipple and opinions regarding its use.

Typically the magnitude of these errors is pretty small, maybe 0.5mm each. Additional error is introduced when you round spoke lengths to match availability (why buying spokes in 2mm increments is rough). Maybe these errors add up to a problem and maybe they cancel each other out.

This sounds like a pain but it’s not at all. You simply make your own tools and take your own measurements. The parts cost next to nothing, assembly takes 10 minutes and you’re left with tools you can use forever. Maybe it seems like a pain because you want your spokes and rims to arrive at the same time. That’s fair but getting it right the first time is always fastest.

Coaxial SON

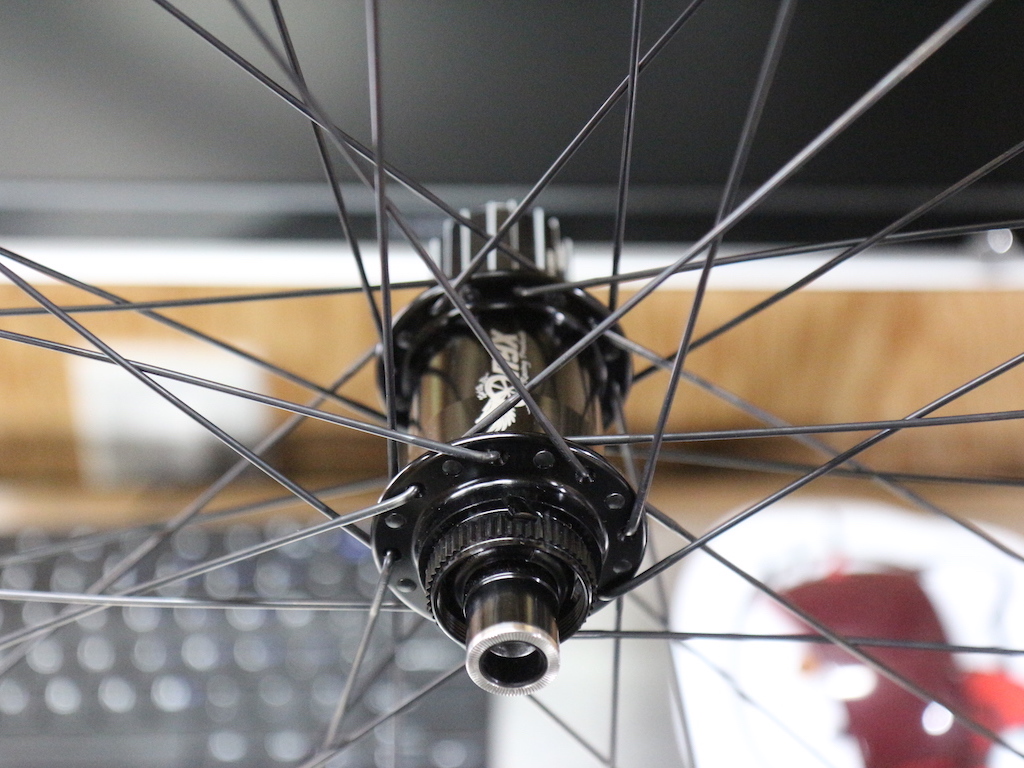
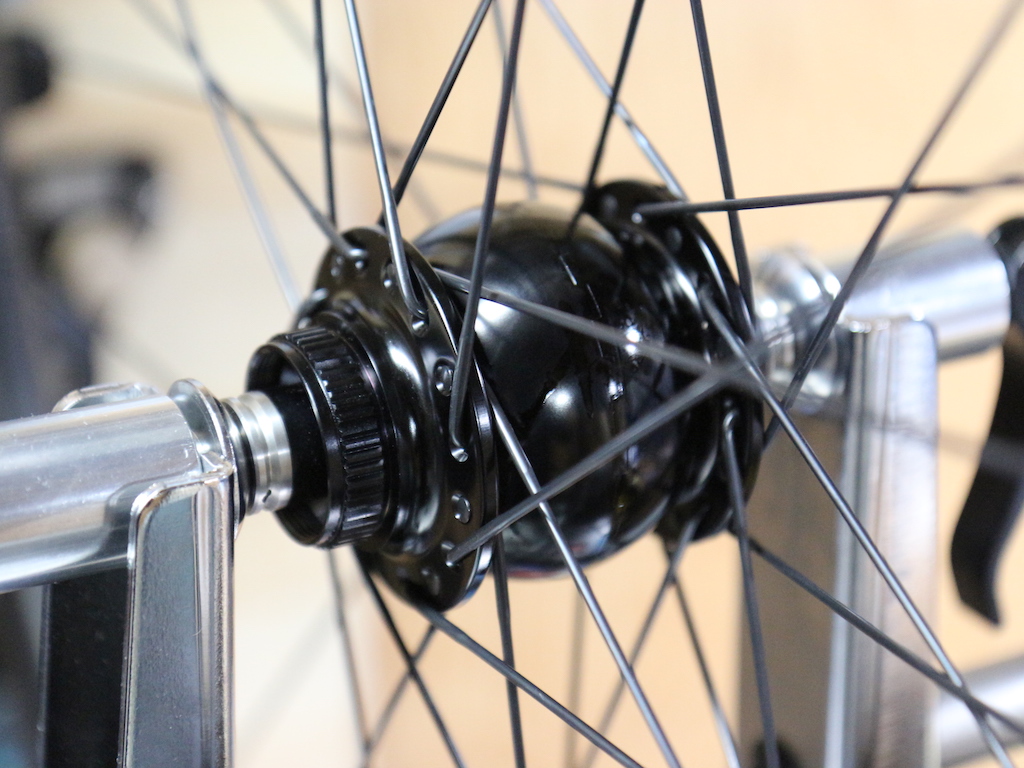
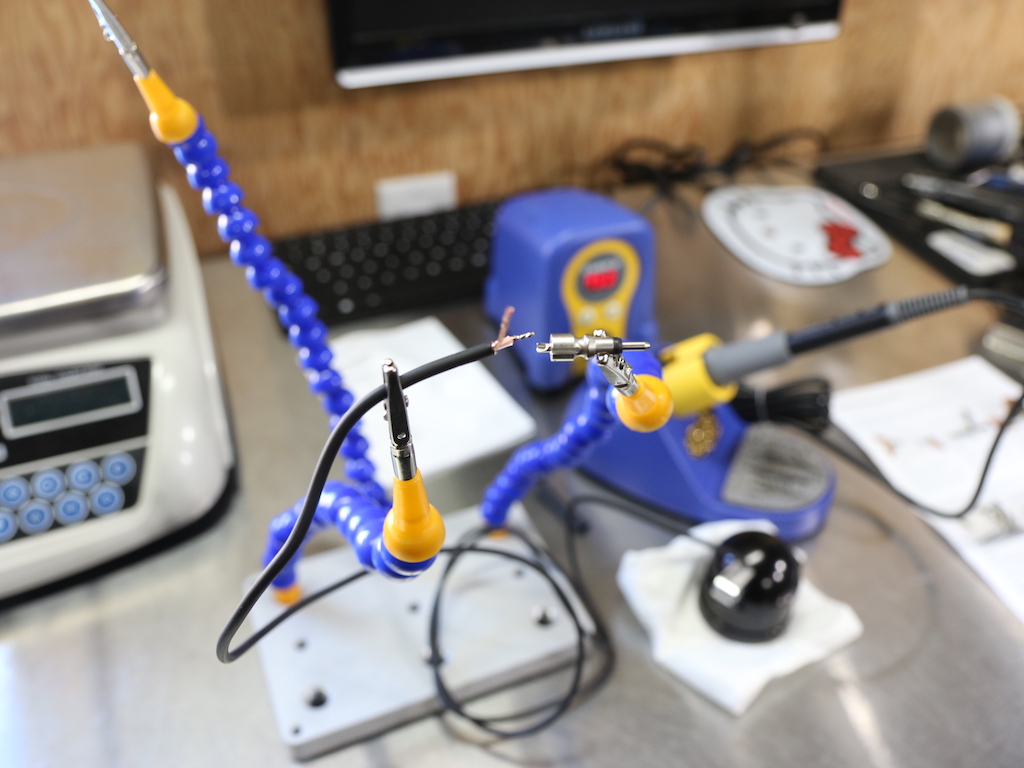
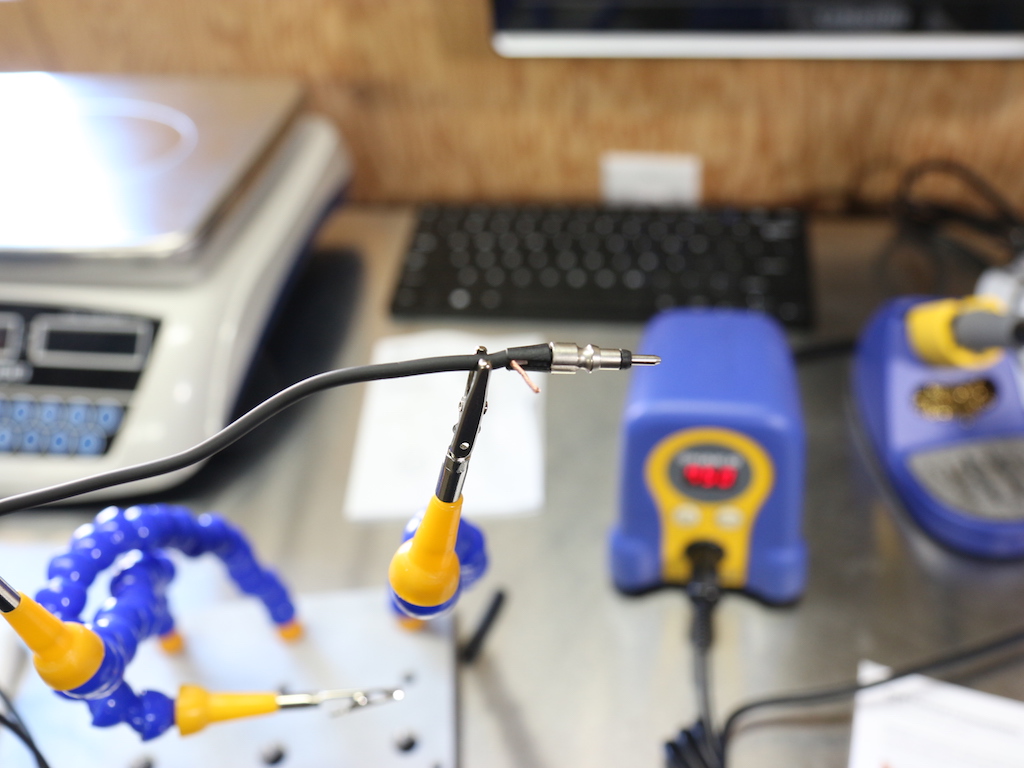
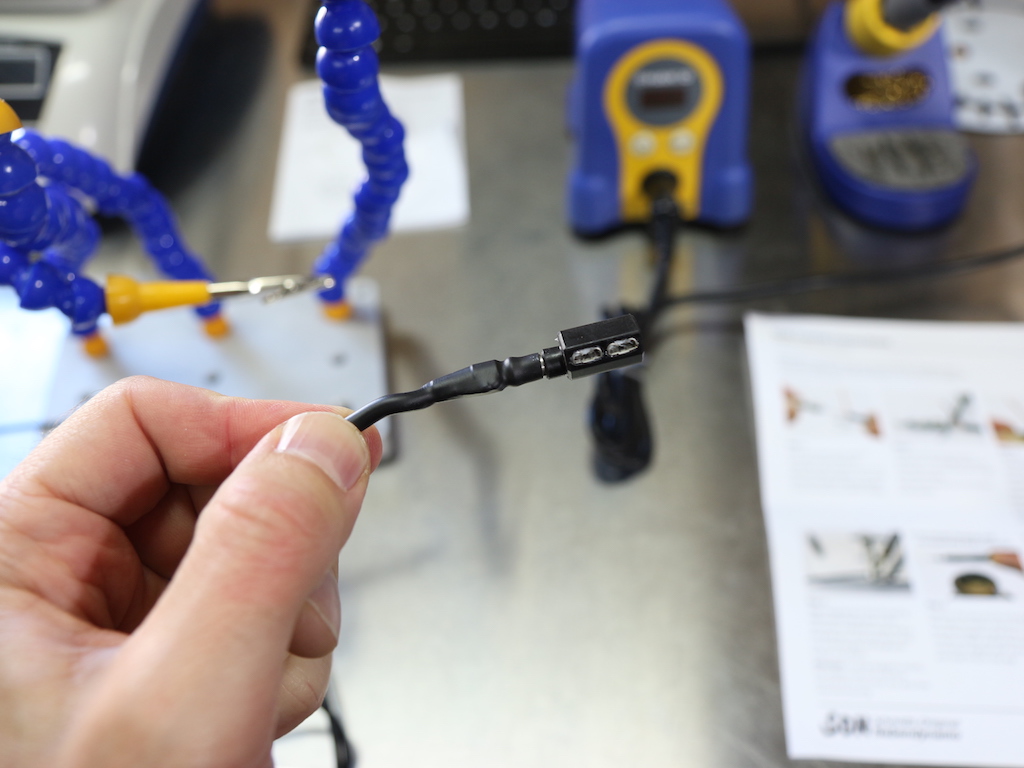
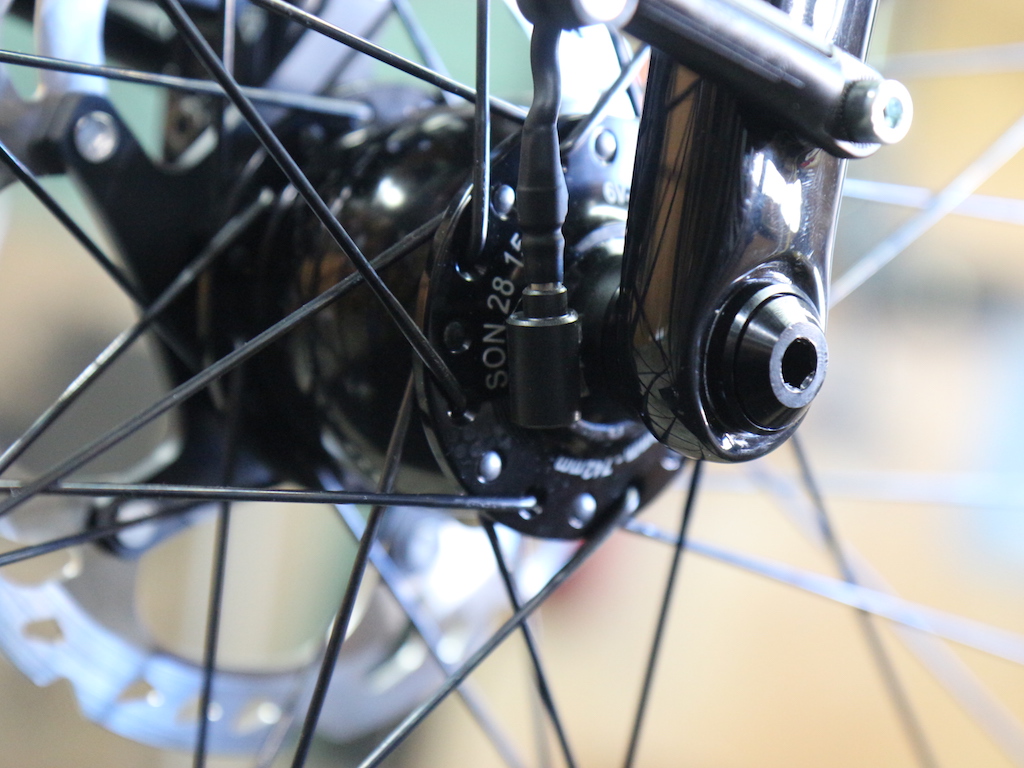
SON hubs and lights include normal spade connectors — trim wires to length, crimp on connectors and connect to your hub. Anyone can manage this system and it works well. As an upgrade, SON offers a coaxial version that I put together today. This system requires more effort to assemble (basic soldering required) but pays you back with a number of advantages.

The upgrade comes with an adapter that connects a coaxial plug to the hub spade connectors. The new plug interface is spring-retained, which is more refined than the friction fit of spade connectors. The coaxial plug is secure but can be fitted or removed with full-fingered gloves.

Using beefy spokes

The typical spoke decision is between straight gauge and some double-butted model. For conditions outside the bell curve, there are two specialty models.

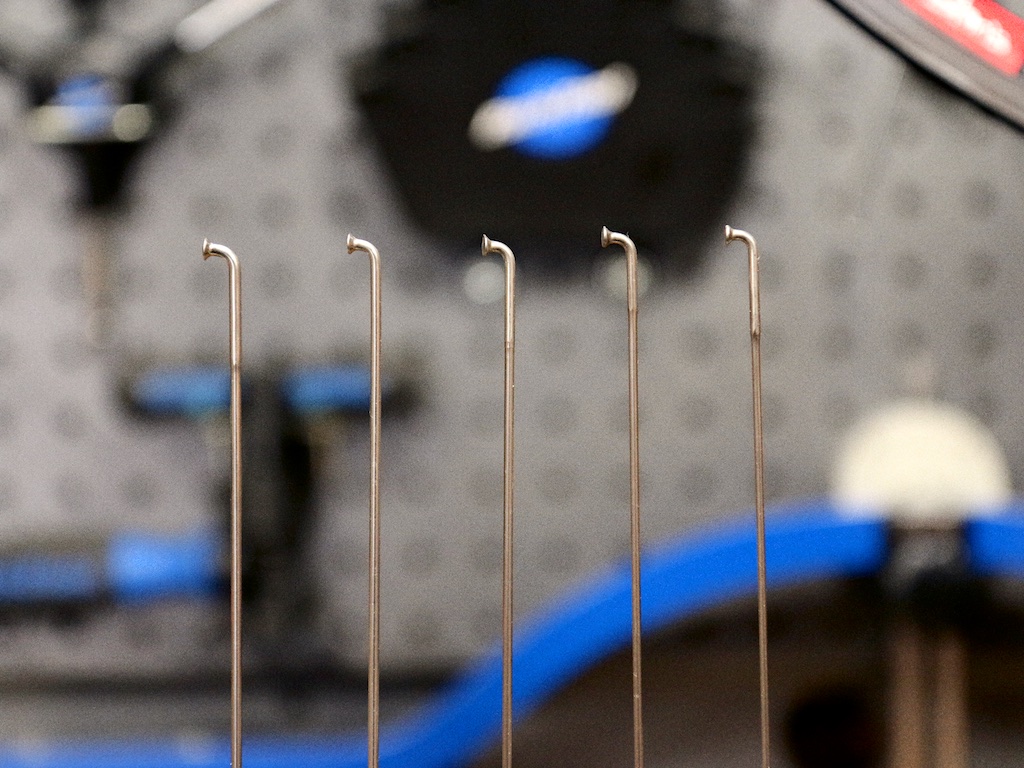
Sapim Force is a triple-butted spoke with a 2.18/1.8/2.0mm profile. They are similar to Sapim Race with a little more meat on the vulnerable elbow section. There is a cost penalty but weight and stiffness are about the same. Fatigue life is better — if you’ve been burned by broken elbows, Force might be the ticket. I often use Force on touring and bikepacking wheels to work with 32 spoke wheels when 36 might be more conventional (opening up more choices for hubs and rims).

Sapim Strong is a single-butted spoke with a 2.3/2.0mm profile. These are the biggest bicycle spokes I use and I stop at this gauge because it’s the biggest spoke that works with regular 2.0mm nipples. Strong shares the massive stiffness of Sapim Leader but has a serious amount of extra material on the elbow. People use Strong for e-bikes, cargo bikes and the heaviest touring applications. For regular day-to-day use they’re overkill though I’ve used them for riders >400 pounds.

Hope is a strategy

Hope hubs don’t have the tightest geometry or the lowest weight, but they’re solid kit for the money. Here are a couple of Hope wheelsets built this month — you might see them on the road in different parts of Alberta.

Tutorial video

Gerd Schraner, veteran wheelbuilder and author of The Art of Wheelbuilding, produced a two-hour instructional DVD called Mastering the Wheel. Now you can go to school on YouTube:

RIP Gerd.

Variations on a theme

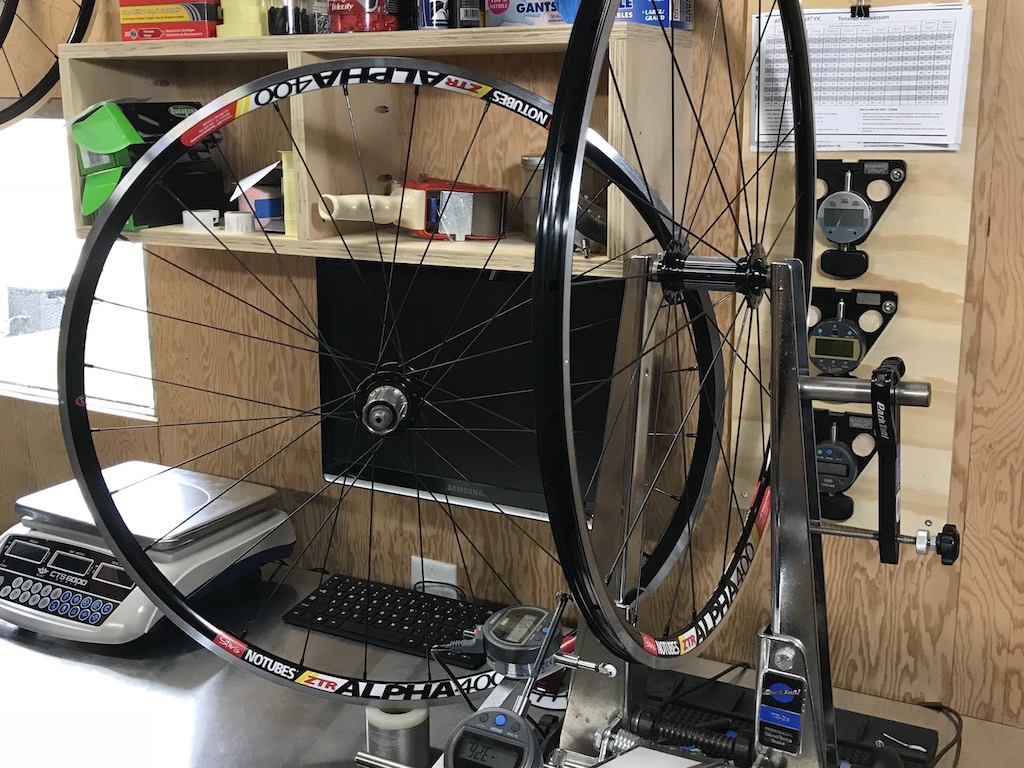
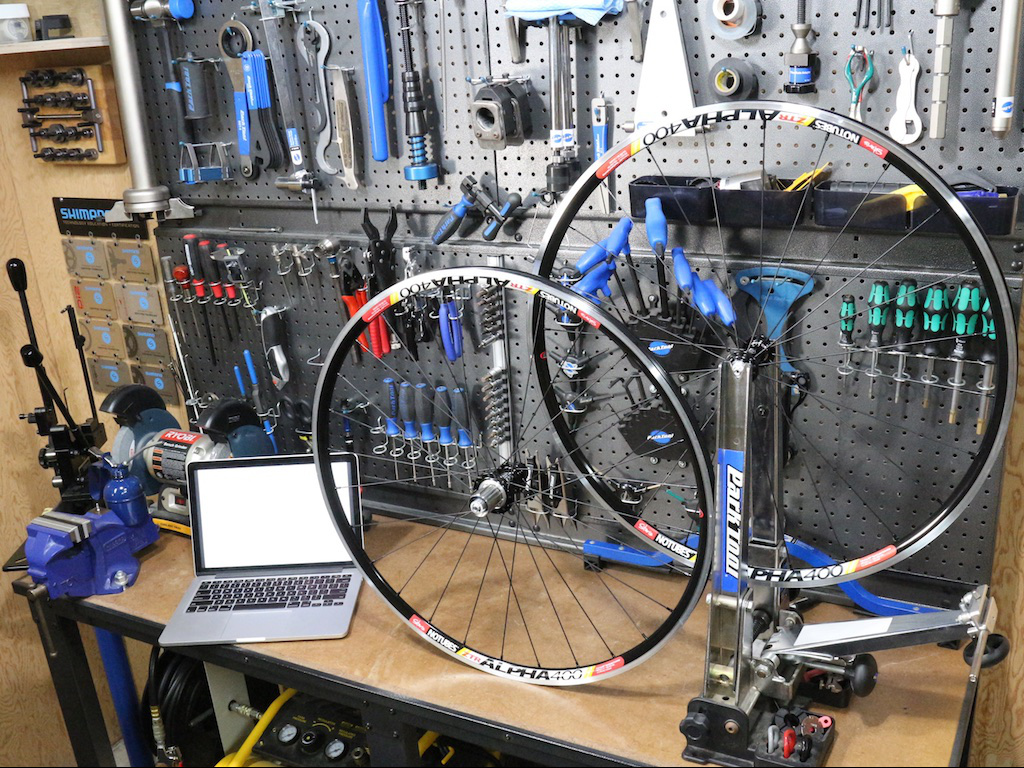
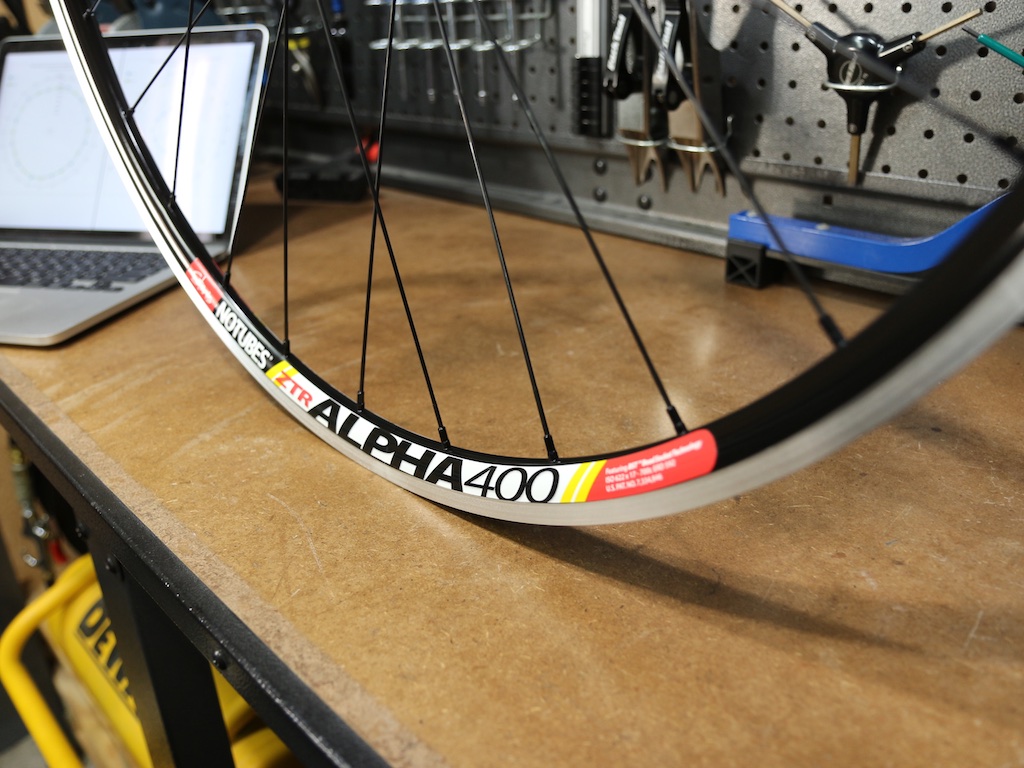
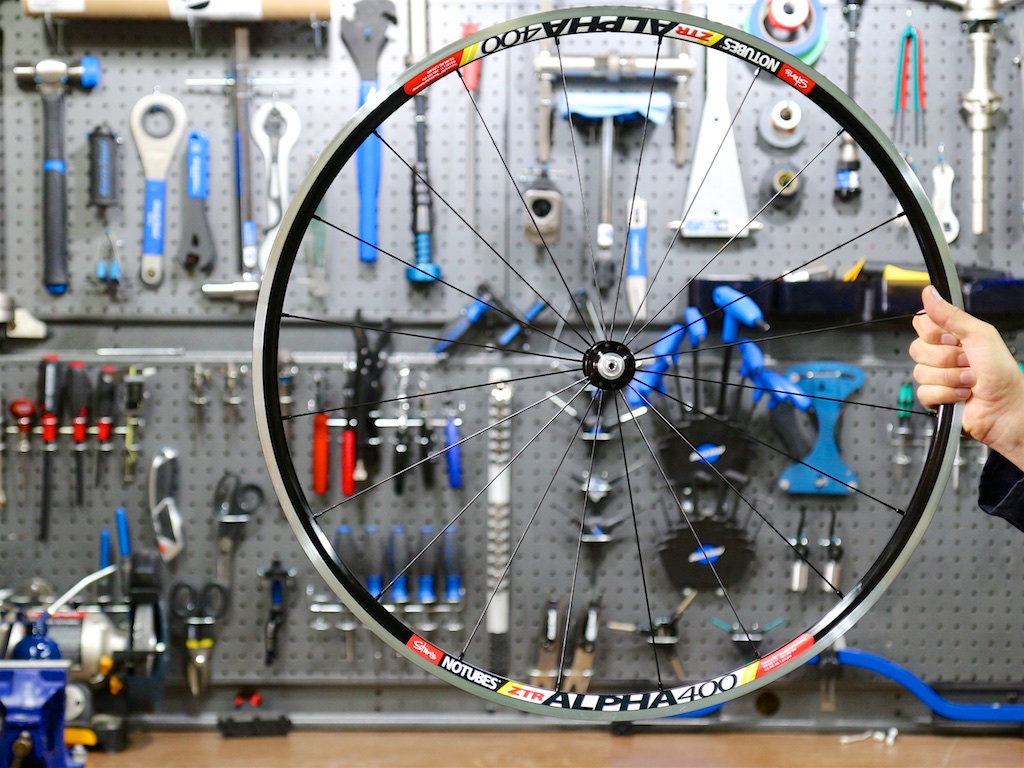
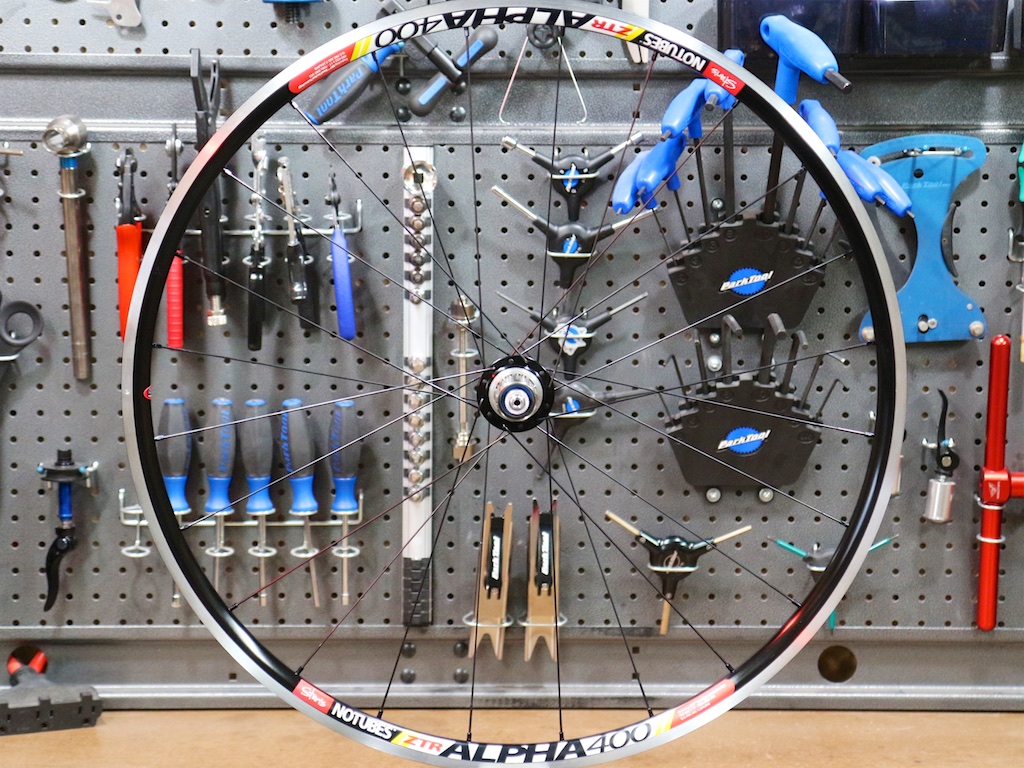
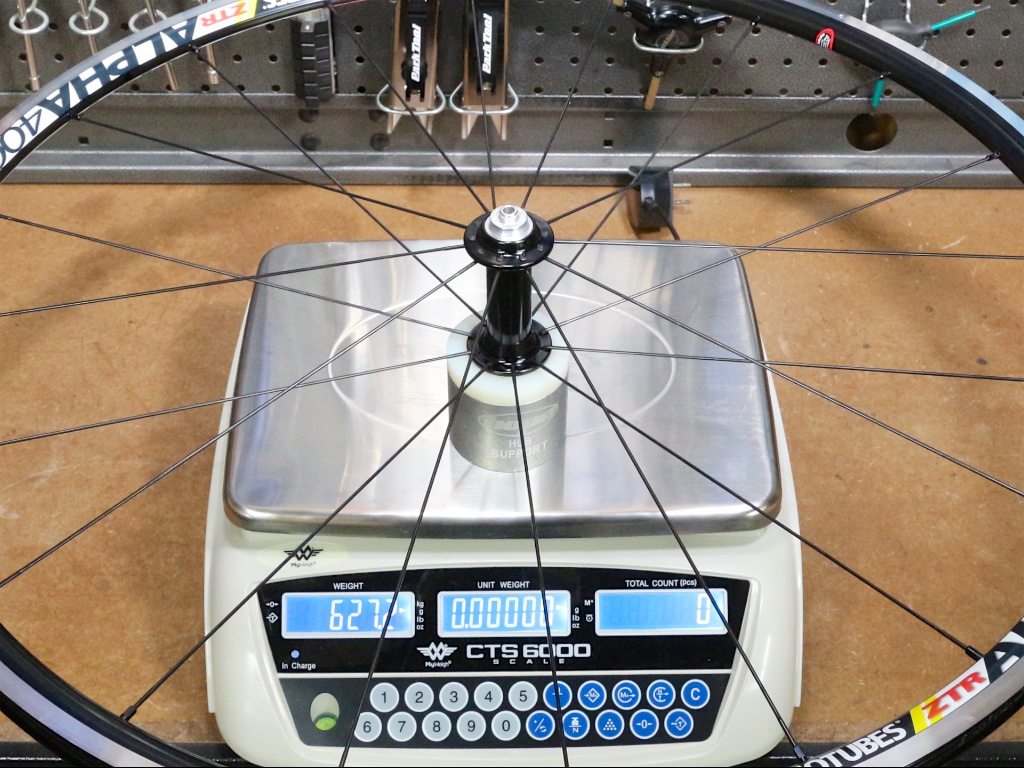
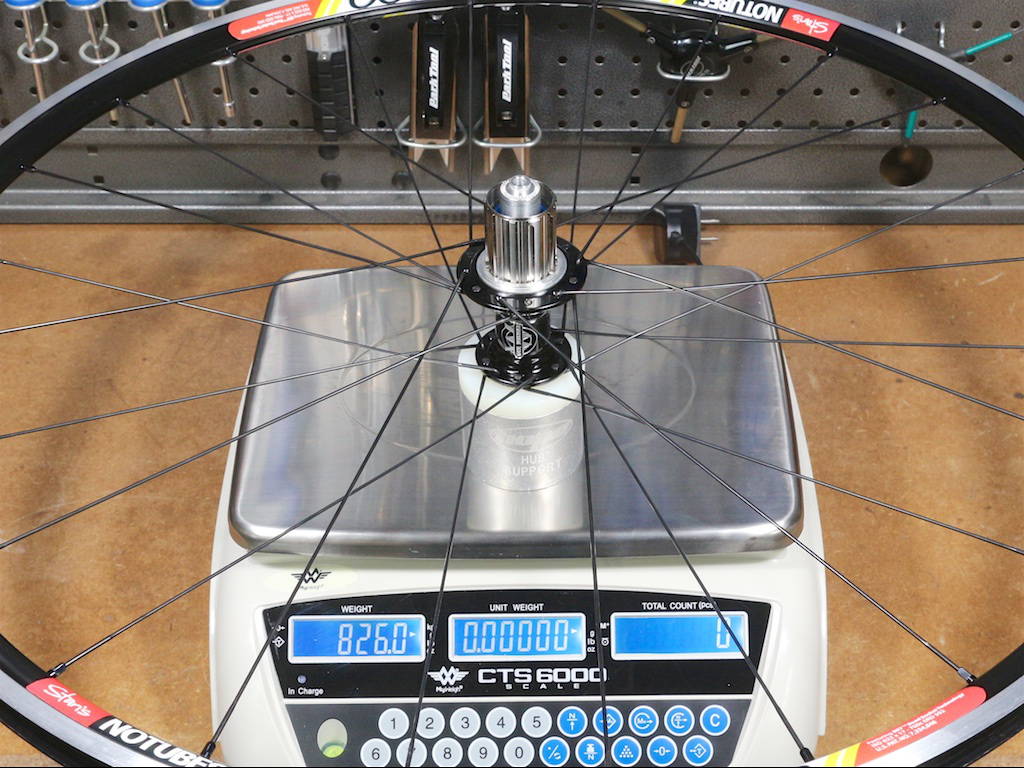
Stan’s Alpha 400 rims push the envelope of weight without concessions in strength — we can go lighter but not without hurting durability. Being deliberate about spoke count and spoke model, the same rims can be tuned for each rider. The first set is built with Sapim Race spokes, 24 front and 28 rear, which makes for a sturdy build.

The second set is built with Sapim D-Light spokes on the front and rear drive side with Sapim Laser rounding out the rear. This set is 20 spokes front and 24 spokes rear, which, as the scales show, makes for a 1453 gram alloy wheelset. Less stiff but a hoot in their own way.

Silver mountain style

When I started mountain biking all spokes were silver. It’s not as common these days but I think we should bring this look back. This is a set I did last month — they look great.

Light but lethal

This is a set of XC MTB wheels using DT Swiss 240S hubs and Light-Bicycle carbon rims. The rims are asymmetric, which allows for more balanced tension between sides of each wheel. The package is put together with Sapim D-Light spokes and Sapim aluminum nipples to keep weight low — only 1464 grams for the set. Tubeless-ready using Stan’s tape and valves. Very nice wheels.

Measuring ERD

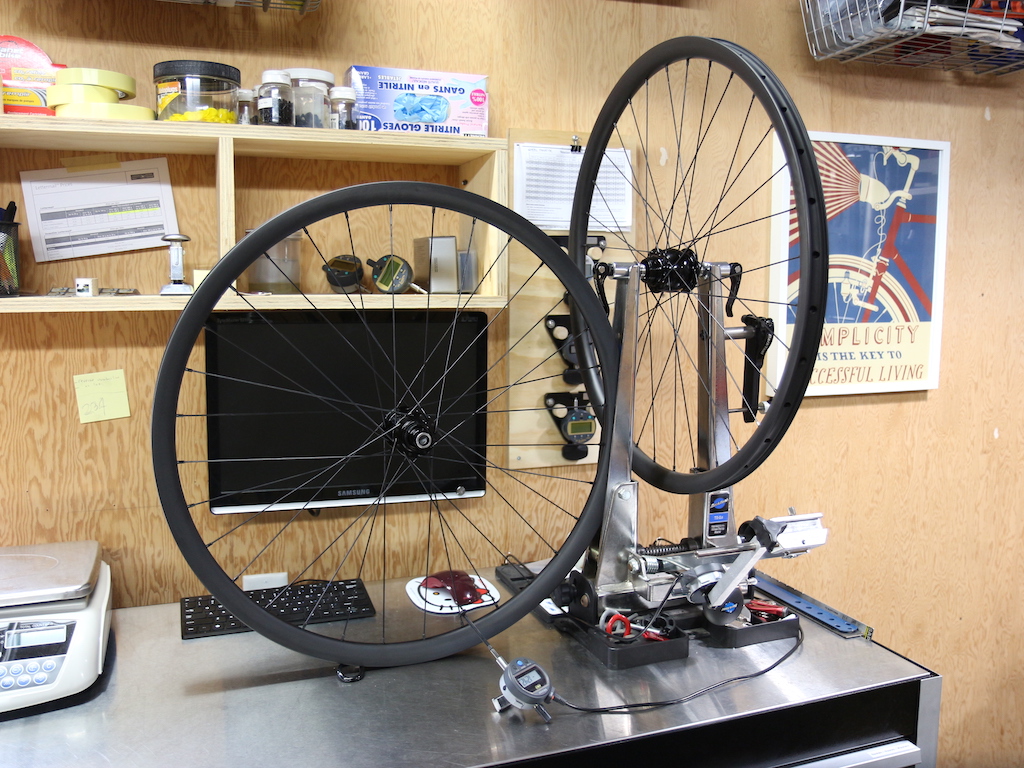
Pros measure the effective rim diameter (ERD) of every rim.

My tools are DIY, which is inexpensive. Here’s how I make them: take two black 310mm Sapim Leader spokes and cut off the elbow leaving a 300mm rod. Use bolt cutters or a hacksaw to get close, then creep up on 300mm exactly using a file or a grinder. Screw a silver nipple to each rod using a bit of Loctite so they never move. For my process I make sure the spoke penetrates the nipple until it’s flush with the bottom of the screwdriver flats — spokes stretch a little under tension so they’ll end up in a good place. That’s it. If you’re precision-minded, you can ensure nipple geometry isn’t a factor by making a new set of measuring rods any time you build with a new variety of nipple.

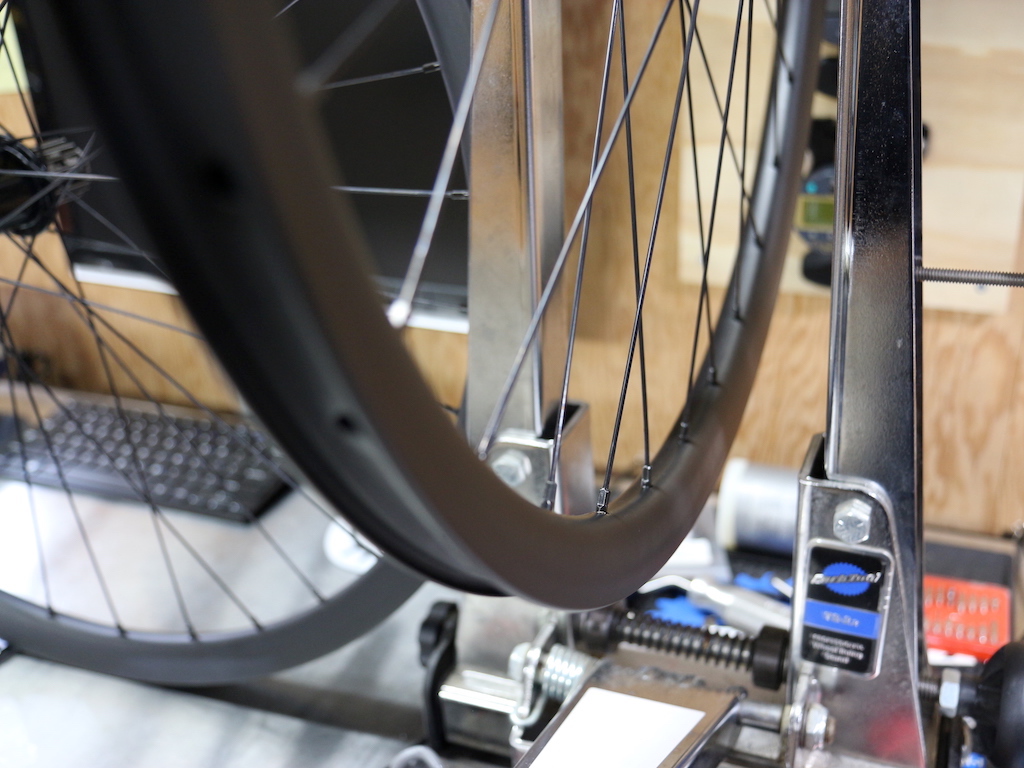
Usage is straightforward. Insert your measuring spokes into opposing spoke holes, counting them to make sure you’re not off by one. Pull the spokes tightly across a ruler. To make the process easier and more accurate, try raising the ruler with a shim so the spokes leave the rim closer to 90°. Use a ruler with 0.5mm resolution (such as this one) or eyeball to the same. For most builds the spokes will overlap on the ruler, in which case you deduct the overlap length from 600mm. If the spokes don’t overlap, add the gap length to 600mm. Perform at least two measurements 90° apart and average the results to get ERD.

Note: you don’t need 300mm spokes to make a tool but it makes the addition/subtraction less error-prone. Use what you have but adjust the arithmetic factor to the sum of the length of your rods. If by some trick you end up with 300mm and 299mm rods, carry on using 599mm in your calculations instead of 600mm.

If you’re building with nipple washers, remember to increase spoke length to compensate. As an alternative, you can install nipple washers on your measuring spokes and build nipple washers right into your ERD. With asymmetric washers it’s helpful to give your measuring spokes a spin after pulling them taut just to make sure everything is seated properly. Overall this approach accounts for the end-to-end nipple/washer/rim fit and avoids errors from incorrect nominal measurements (a real thing).

Most spoke calculators will give you lengths to the tenth of a millimetre, which you’ll need to round to the nearest available length. Since measuring as above targets the bottom of the acceptable range, resist rounding down for low tension builds or on the low tension side of a wheel. In a future blog I’ll expand on the topic of rounding.

Rims for new builders

Sometimes newbies ask about cheap rims to try wheelbuilding, which isn’t the right way to think about starting. Rim quality sets the stage so inexpensive rims may serve to frustrate more than anything. If you’re apprehensive about wheelbuilding, and there isn’t any reason to be, stay away from ultralight rims and low spoke count rims. Stay away from ultralight spokes. Buy a quality rim with the attributes you want to ride and you’ll do fine.

Archives

FEEDS